With that plan in place the next thing to do was figure out how are we going to do it. We always have the scouts help with the decorations in one way or another, so we decided to have them decorate kites and fold paper airplanes. For the kites we purchased white poster board. We were able to get 5 small kites out of each poster board and one large kite per poster board. We had 4 large kites with the Bobcat, Wolf, Bear, and Webelos insignia on them. We recycled the insignia from the previous years banners. The boys were given a stack of kites and the craft bucket and told to go at it. They each made at least two kites, some made more than that. We used blue and yellow ribbon for the tails of the kites. So as the boys colored two of the den leaders and I worked on cutting ribbons and tying tails. The tails were probably about a foot long with 3" ribbons of the opposite colored tied down the length of it. So one long blue tail with 3 yellow ties or vice versa. Once the boys were done with the kites we had them start folding paper airplanes. The airplanes were all made from yellow or blue card stock. We asked them to all fold them the same way as they were for decoration. Once they had folded over 90 airplanes we let them have at a pile of construction paper to fold whatever type of airplane they wanted. They split off into groups for the last 20 minutes of that meeting with their dens to work on rank objectives. Once we had the paper airplanes home we cut straws into 1-2" pieces and taped them to the tops of the airplanes. So they won't hang funny you need to find their center of balance. To hang them we threaded a string through the straws and strung them across the gym walls towards the ceiling. Now that we had the boys kites done and the airplanes folded, we took the 4 large kites added the insignia and added yellow or blue construction paper around the outside for some color. Some of our leaders had real kites which they brought and hung up for extra pops of color. Wall and ceiling decor done!
POSTER BOARD KITE TEMPLATE:


The Space Shuttle was the biggest project of all. My husband brought his skills as a builder to bear again here. He grew up on Air Force bases, so to him having the shuttle look recognizably like a space shuttle was important. In my head I'm thinking something more cutesy. I should have known better! Google sketch-up to the rescue again! My husband drew up plans on sketch-up for how he would make the shuttle. A friend of mine had kindly donated their water heater box to us. I'm sure my husband could provide better instructions, but from what I saw he cut long sections of box and taped them together to form the shuttle. He then painted it white. He cut the wings and tail out of spare card board pieces. These were also painted white. Then using some black paint he hand painted on the windows and the black outline of the wings. We happened to have some red and blue paint on a desk in our bedroom, so he also painted on the US flag on the wing of the shuttle. It ended up looking great!


We had planned on a dirigible for our back wall behind the food table. However due to time constraints from my foot surgery we just didn't have time. This is the sketch of what we were planning on doing. We were just going to make it out of a big roll of paper. (Sorry for the sideways pictures.)

For the invites I found something on Pinterest that I knew would work perfectly. Using this as a template I made up our plane tickets that were handed out to each of the scouts and the boys who would be joining us this year. Being LDS all our boys are invited to join scouts when they turn 8 years old. The plane tickets were printed on yellow card stock and the ticket holders were printed on blue card stock. The holders were folded somewhat in thirds. I used the ticket as a guide compared to the holder where the wording is. Then folded it there and again. The final third wasn't a true third, but that was fine. I cut it down so that it was just a small corner that would hold the ticket in. I taped this part down. Just like that the tickets are ready to be handed out.


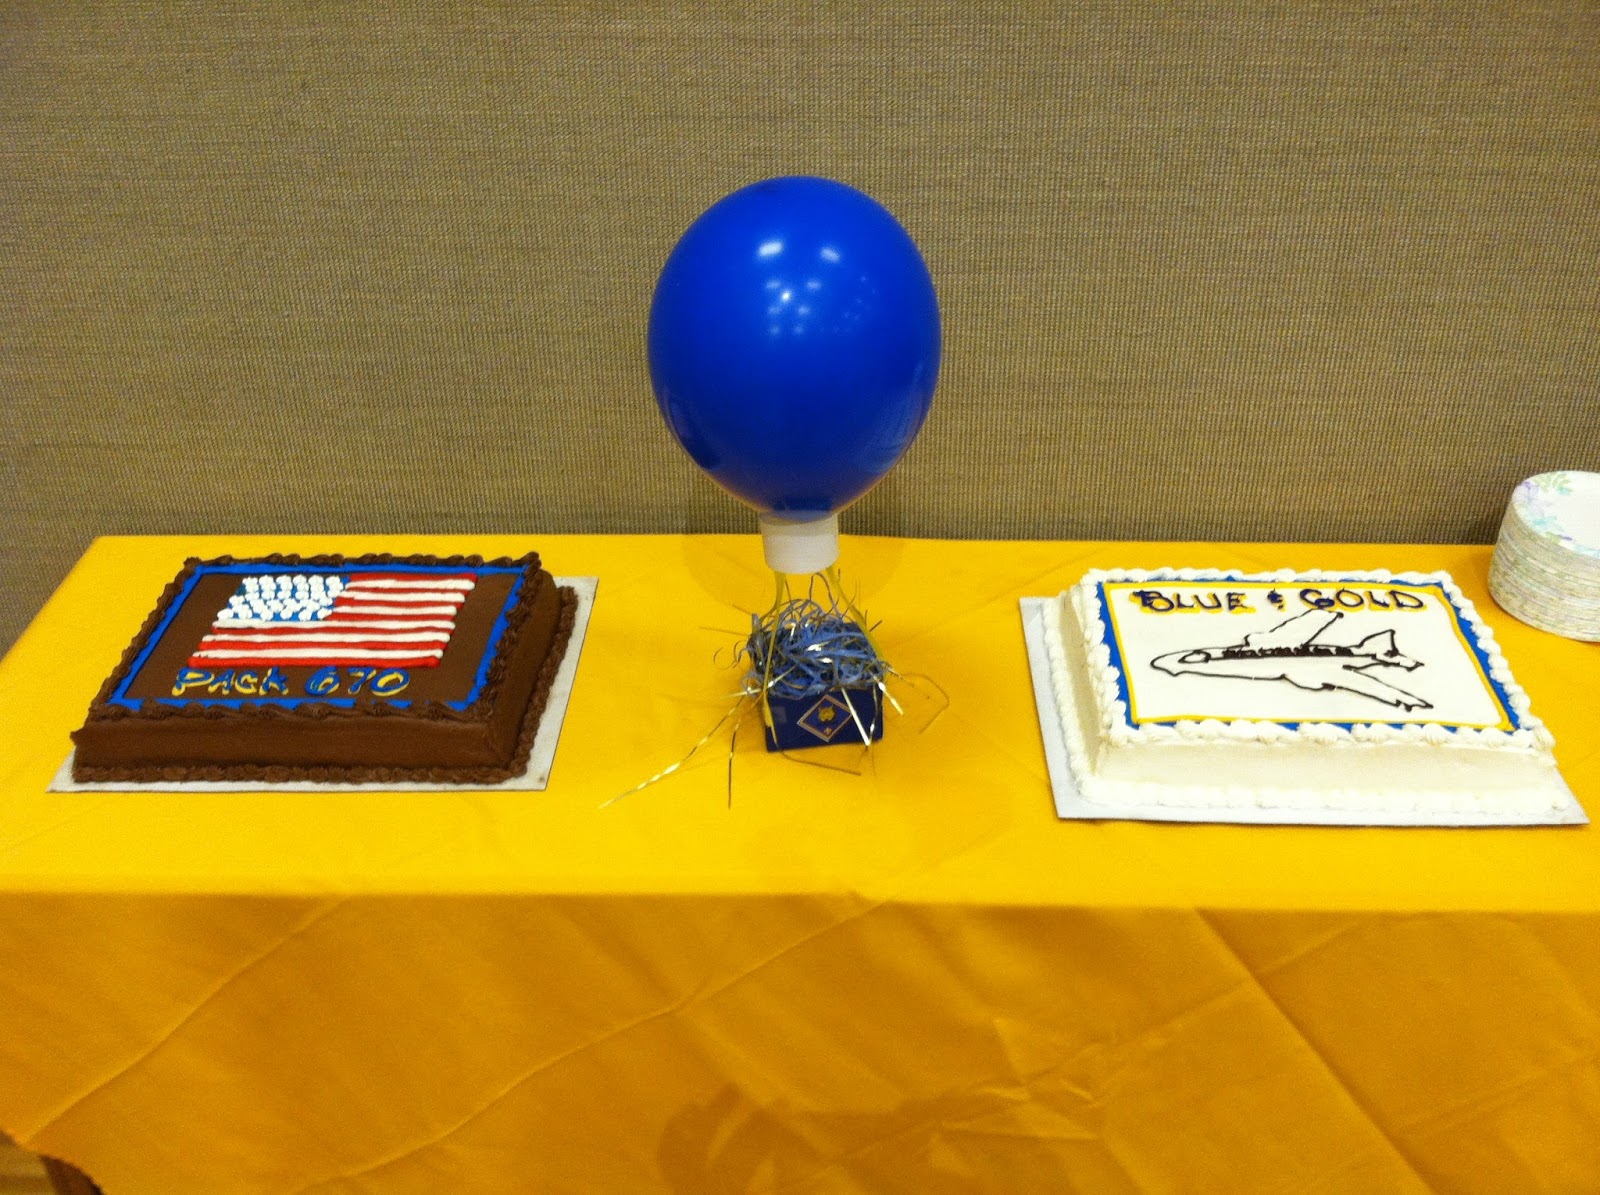
We were expecting over 100 people for our banquet, so for dinner we went with spaghetti, a meat sauce, rolls and a salad. We had cakes from Costco for dessert. A chocolate cake with the American flag and a white cake with an airplane on it.


The final set up:


No comments:
Post a Comment